
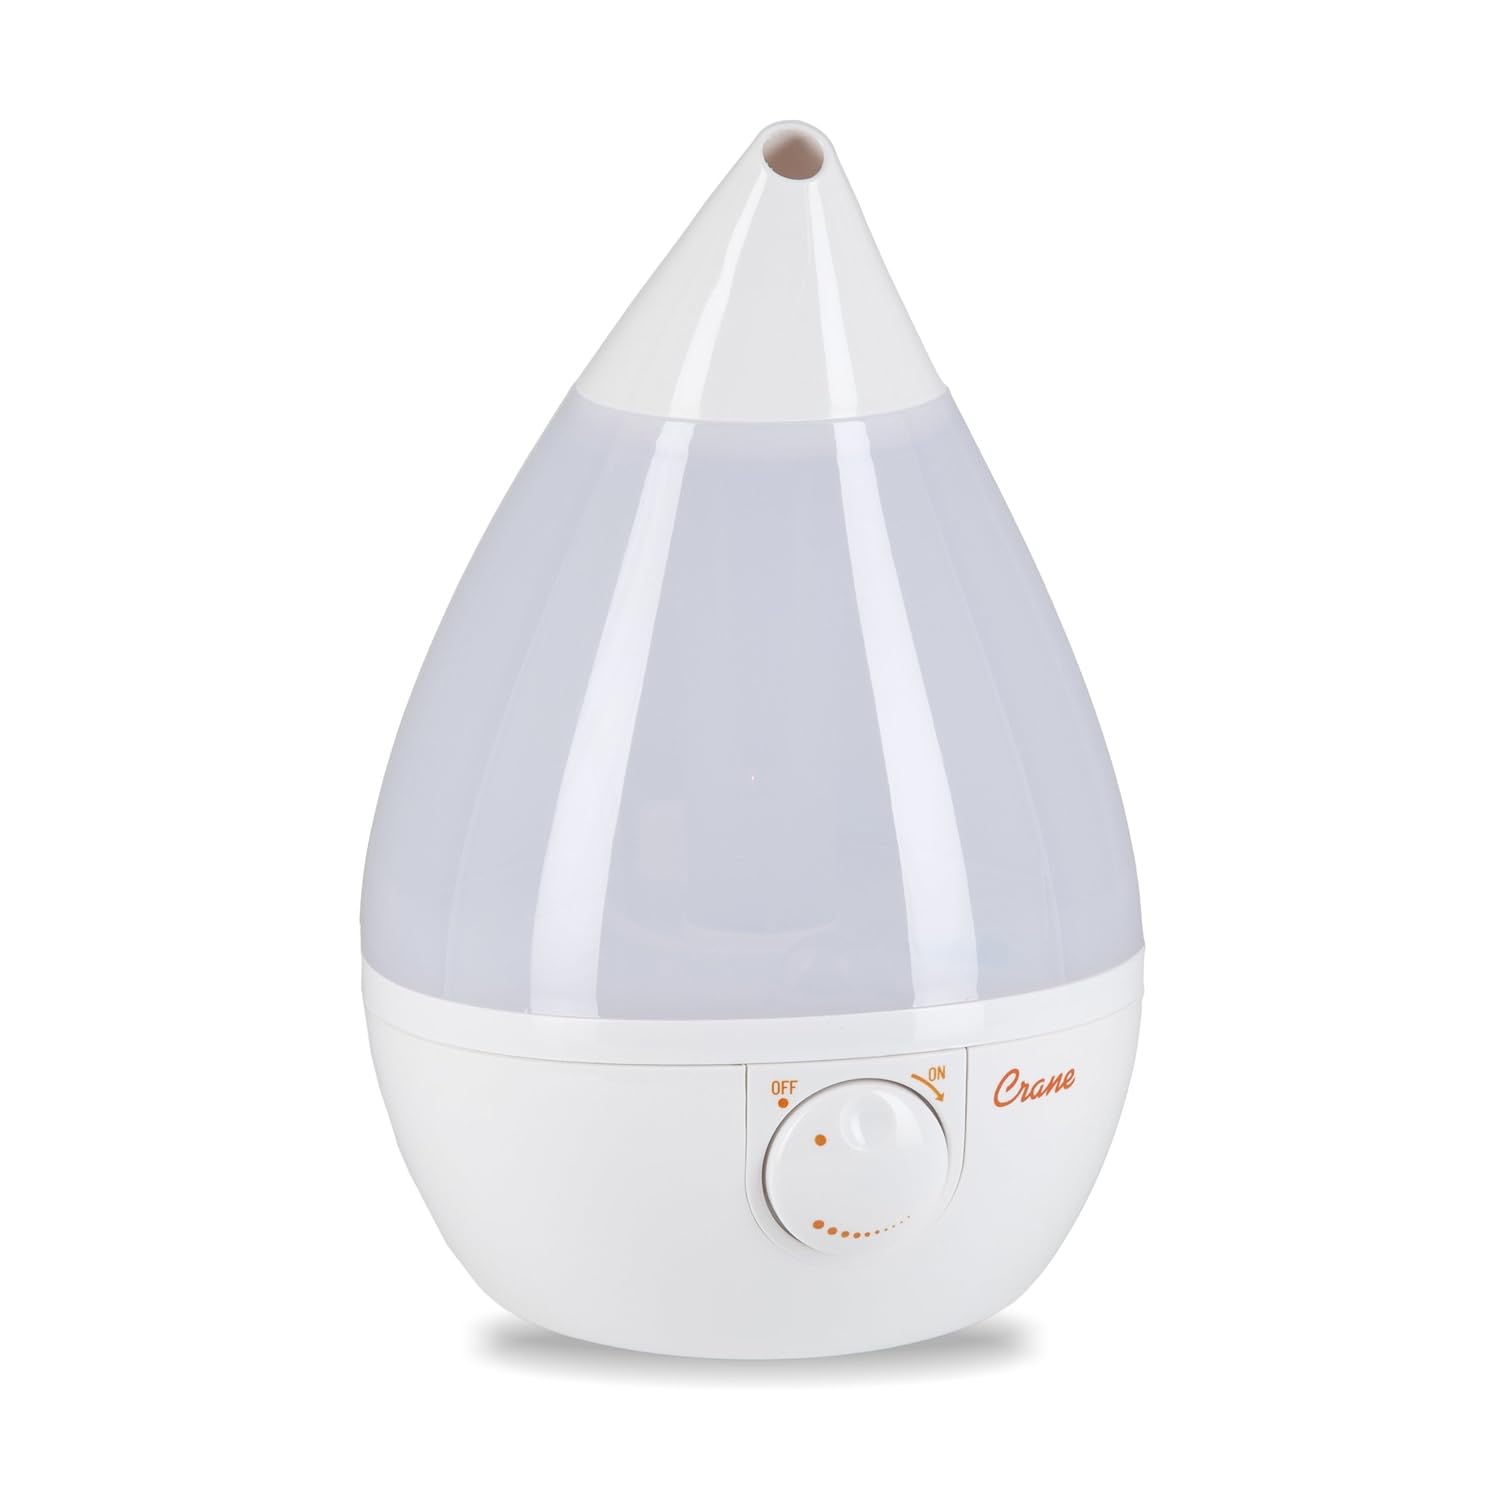
When picking out a ultrasonic humidifier (remember that this is the type you need to buy) there a tons of good options online or at local stores. Some people recommend larger tanks so you don't need to refill as often, or something a little more festive like this pig shaped humidifier. I decided to go with something a little less obtrusive visually and purchased this one by Crane.

You may be tempted to wonder what your warranty options might be if the thing doesn't work so I'll save the customer service department over a Crane the five minute phone call and just laugh at you right now. Ha ha ha ha ha. If you are not comfortable with this sort of thing, or if you ever want to blame the outcome of your cured concoctions on equipment failure, do not do this. But its at least best if you hard wire the unit at the controller. I just took it one step further so I could safely remove the humidifier for cleaning.
The unit wires themselves have no indication of polarity, so I marked each with a piece of tape before severing the connection. And here is my nice, newly wired humidifier...

Living in the San Francisco East Bay I am a bit spoiled when it comes to the proper temperatures and humidity for curing or any aging process for that matter. So when I fired everything up together (I left all of the sensors hanging for now until I was sure it would work) I couldn't really get an indication if it was all working correctly. The temperature in my garage has been a steady 60F degrees, or near enough, and the humidity had been hovering around 70%. It has been raining quite a bit. So I ran it for a few days at 50F degrees and 90%. Even at these settings the fridge and humidifier didn't kick on very often.
I may install a heat lamp at some point if winters are going to keep the temperature too low and halt the curing process. Somewhere on one of the forums I read, and please if anyone sees it let me know so that I can attribute the idea, using a ceramic reptile bulb so that the chamber can remain dark. The temperature controller I used and that seems universally recommended also will control a heating unit as well.
The last thing that you may want to install upfront is a fan of some sort. The air inside the chamber needs to circulate a bit, although I've read too much circulation can also be a problem. It is going to be something I have to experiment with because my fridge has two fans up at the evaporator.

This may cause me problems in the future, but my solution will be to install a timer to the fan line. Luckily they are run in series so install will be minimal. If either this or the heater become necessary I'll probably include both just to save on the install time.
Now before we embark on the final seal up of the unit, back to that little side product I mentioned last time. As with seemingly every idea I used throughout this project I can't take credit for this one either. That distinction goes to my lovely girlfriend Jaclyn, who as I was pondering what color I wanted to paint over the VWR logo with, blurted out as if it was the most natural of solutions: "Just paint it in chalkboard paint."
Now for some of you either over the age of 30, not a hipster/don't use Pinterest, or some combination of the two, might have no idea that such a thing exists. Well here it is.

It's become quite popular in the hip restaurant scene and college dorm rooms everywhere, and considering curing, brewing, or aging anything requires meticulous documentation to perfect the process, I rewritable slate painted onto the chamber itself is all kinds of a perfect pairing. Thanks honey!
I won't bore anyone here with details of painting. If you need help figuring out how the roller works just send me an email with your address and I'll notify the proper authorities that you are home alone and require assistance, because you clearly shouldn't be left to your own devices. I will say that multiple people recommend many coats of this stuff in order to get a good chalkboard. I did 4 coats with minimal prep work, but some recommended as many as six or using a primer.


I did the sides too. Couldn't help myself, an artist needs as much canvas as they can get.
The last steps required buttoning it all up and placing the sensors. You want your temperature readings to come from around the same height as whatever your curing. In this case I wanted it right about mid level of the fridge. I ran the two temperature sensors down the sidewall of the fridge, under one of the rack holders.

And the humidity sensor I placed just outside the shroud of the evaporator, at the top right-hand side of the fridge. Originally, as shown in the picture I had the temp sensors here as well, not remembering the advice I had read elsewhere. The quick ability of the fridge to bring the temperature down proved that the temp sensors needed to be farther from the unit. Also it was at this point I recalled the advice of placing them relative to your curing location.

To counterbalance my all these right-handed readings I placed a second humidity/temp sensor/monitor mid level on the left-hand side. This is not the same one recommended from the other website, but it had great ratings and they all do the same job.
I'm tempted here to just power it out and show you the rest, as well as the final product in all its dazzling beauty, but if you've made it this far what is one more day right? Tomorrow I'll show the finial buttoning up where I effectively roll the dice on destroying everything I'd done up to this point, and some cleaning/sterilizing advice which is the most important step once you have a working curing chamber.
See ya - Tyler
No comments:
Post a Comment